
Contents
Introduction
In the realm of fashion, cardigans have long held a special place, offering a versatile and stylish addition to any wardrobe. Whether you’re seeking a cozy layer for chilly mornings or a chic complement to an evening ensemble, a knitted cardigan can seamlessly elevate your look. Embarking on the journey of knitting your own cardigan not only grants you the satisfaction of creating a personalized garment but also instills a profound sense of accomplishment. This comprehensive guide will equip you with the knowledge and techniques necessary to transform skeins of yarn into a beautiful and functional cardigan.
Materials and Supplies
Before embarking on your knitting adventure, it’s essential to gather the necessary tools and materials. Your primary weapon in this creative endeavor will be a set of knitting needles, typically made of wood, metal, or bamboo. The choice of needle size is crucial, as it dictates the gauge of your knitted fabric. Gauge refers to the number of stitches and rows per inch, and it’s imperative to match the specified gauge in your chosen pattern to ensure the correct fit for your cardigan.
Next, you’ll need yarn, the very foundation of your knitted creation. The type and weight of yarn you select will significantly impact the texture, drape, and overall aesthetic of your cardigan. Consider the desired style and the season when making your yarn choice. For instance, a lightweight merino wool yarn might be ideal for a spring cardigan, while a chunky acrylic yarn could be perfect for a cozy winter garment.
To keep track of your progress and ensure accurate stitch placement, stitch markers are invaluable tools. These small, removable clips attach to your knitting needles and serve as visual reminders of important points in the pattern, such as where to begin shaping or adding decreases.
A pair of scissors will come in handy for snipping yarn ends and making adjustments as needed. A tapestry needle, with its fine, flexible point, is essential for weaving in loose ends, securing seams, and adding embellishments.
Choosing a Pattern
The world of knitting patterns offers a vast array of options, from simple beginner-friendly designs to intricate and challenging projects. As a novice knitter, it’s advisable to select a pattern that aligns with your skill level and personal preferences. Consider your knitting experience, the desired style of cardigan, and the amount of time you’re willing to invest in the project.
Numerous resources are available for finding knitting patterns, including books, websites, and online communities. Ravelry, for instance, is a popular online platform where knitters can browse, share, and purchase patterns. When selecting a pattern, carefully review the instructions, ensuring they are clear and easy to follow. Pay attention to the pattern’s gauge requirements, yarn suggestions, and finished garment measurements.
Gauge Swatch
Before diving into the actual knitting of your cardigan, it’s crucial to create a gauge swatch. This small sample of knitted fabric serves as a test run to ensure you’re achieving the specified gauge for your chosen pattern. Knitting a gauge swatch allows you to adjust your needle size or yarn weight if necessary to ensure the correct fit for your cardigan.
To create a gauge swatch, cast on the specified number of stitches using the recommended needle size and yarn. Knit for a few inches, following the pattern’s stitch instructions. Once you’ve completed the specified number of rows, measure the swatch using a ruler. If the number of stitches and rows per inch matches the pattern’s gauge, you’re ready to begin knitting the cardigan. If not, adjust your needle size or yarn weight accordingly and knit another gauge swatch until you achieve the correct gauge.
Casting On
Casting on is the process of creating the initial stitches that form the foundation of your knitted fabric. The chosen casting-on method will determine the appearance and elasticity of the cast-on edge. For a simple and secure cast-on, the long-tail cast-on method is a popular choice.
To perform the long-tail cast-on, make a slipknot on your right-hand needle, leaving a long tail of yarn. Hold the needle in your right hand and the yarn tail in your left hand. Drape the yarn across your left index finger and bring it back to the right needle. Wrap the yarn around the needle from back to front, creating a new stitch. Slide the new stitch onto the needle, and repeat the process until you have the desired number of stitches.
Knitting the Body Panels
The body panels form the main structure of your cardigan, encompassing the front and back pieces. Once you’ve cast on the required number of stitches, follow the pattern’s instructions to knit the body panels. Basic knitting techniques, such as knit stitches and purl stitches, form the foundation of your cardigan’s fabric.
Knit stitches are created by inserting the right needle into the stitch on the left needle from front to back, wrapping the yarn around the needle from back to front, and pulling the new loop through the old stitch on the left needle. Purl stitches, on the other hand, are created by inserting the right needle into the stitch on the left needle from back to front, but without wrapping the yarn. Instead, the yarn is held in front of the needle, and the new loop is pulled through both the stitch on the left needle and the yarn held in front.
The pattern might also incorporate shaping techniques, such as increasing and decreasing stitches. Increases are used to add stitches to the fabric, often used to create armholes or shape the neckline. Decreases, conversely, reduce the number of stitches, typically used to shape the shoulders or create a fitted silhouette.
As you knit the body panels, maintaining consistent tension is essential. This refers to the evenness with which you pull the yarn through your stitches. Uneven tension can result in a wavy or uneven fabric. Practice achieving a consistent rhythm when wrapping and pulling the yarn to ensure a beautiful and professional-looking finish.
If you encounter mistakes while knitting, don’t fret! Mistakes happen to even the most experienced knitters. The key is to identify and correct them promptly. There are various techniques for fixing mistakes, such as picking up dropped stitches or using a crochet hook to ladder down an incorrect row.
Most importantly, remember to take your time and enjoy the process of creating your cardigan. Refer to your pattern frequently for guidance, and don’t hesitate to consult online resources or knitting communities for help if needed.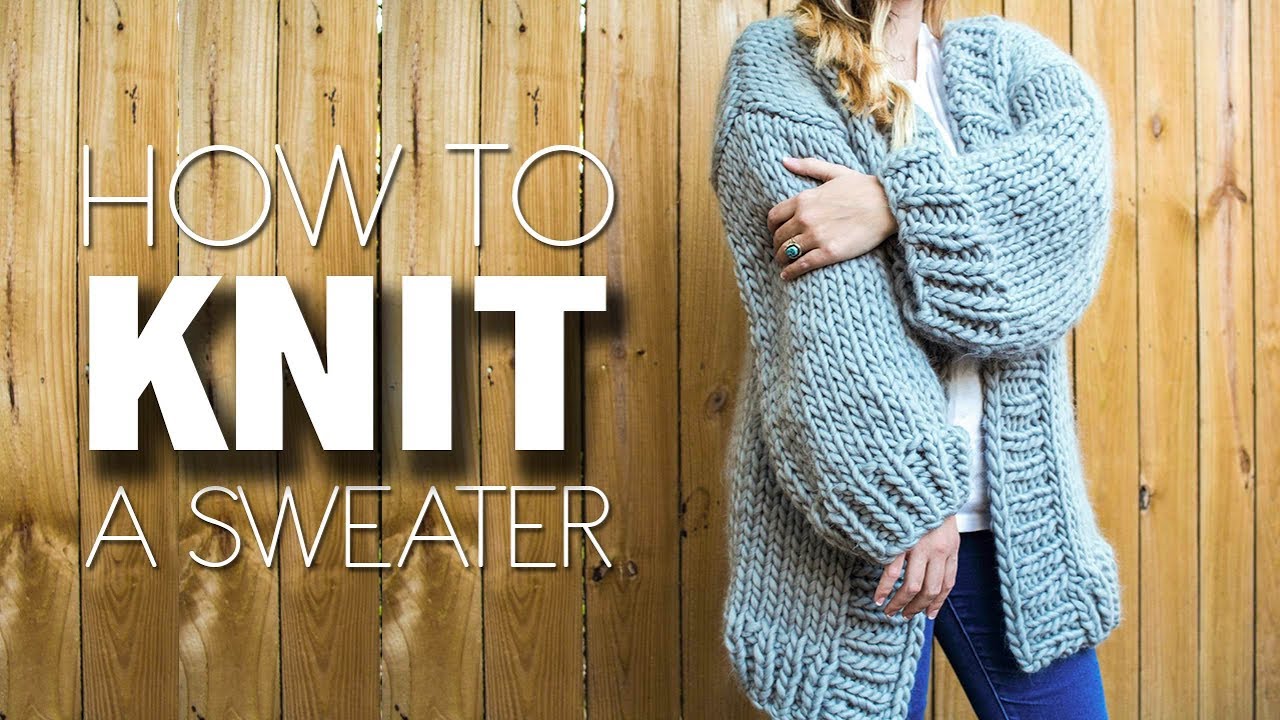
Shaping the Armholes
The armholes are essential for creating the arm openings in your cardigan. The shaping process typically involves gradually decreasing stitches at specific points on the front and back panels, following the pattern’s instructions. These decreases can be achieved using various techniques, such as knitting two stitches together or slipping a stitch and knitting the stitch before it together with the slipped stitch.
The pattern will provide specific details on the number of stitches to decrease and the placement of these decreases. Following these instructions precisely ensures that the armholes are shaped correctly, resulting in a comfortable and well-fitting cardigan.
Attaching the Sleeves
Once you’ve completed knitting the front and back panels, it’s time to create and attach the sleeves. The sleeves are typically knit flat in separate pieces and then sewn onto the armholes of the body panels.
To begin, you’ll pick up stitches around the armhole openings on the front and back panels. Picking up stitches involves using your knitting needle to create new stitches from the existing cast-on edge of the armhole. The number of stitches you pick up should correspond to the number of stitches cast on for the sleeve cap.
With the stitches picked up, you’ll proceed to knit the sleeves following the pattern’s instructions. The sleeve shaping might involve decreasing stitches at specific points to create a tapered shape that fits comfortably around your arm.
The final step involves sewing the sleeves onto the armholes of the body panels. The mattress stitch is a popular technique for joining knitted pieces seamlessly. It involves weaving the needle through the corresponding sides of the stitches on the sleeve and body panel, creating a clean and invisible seam.
Knitting the Collar
The collar adds a stylish finishing touch to your cardigan. There are various collar styles to choose from, each offering a unique look and feel. Popular options include ribbed collars, which provide a stretchy and comfortable fit, rolled collars that create a casual and relaxed aesthetic, and shawl collars that add a touch of elegance.
The pattern you selected will dictate the specific collar style and provide instructions for knitting it. Typically, the collar is knit as a separate piece and then sewn onto the neckline of the cardigan body.
When knitting the collar, pay close attention to shaping instructions, particularly for shawl collars that involve increasing stitches to create a curved edge. Additionally, ensure the finished collar circumference matches the neckline opening to ensure a smooth and seamless connection.
Finishing Touches
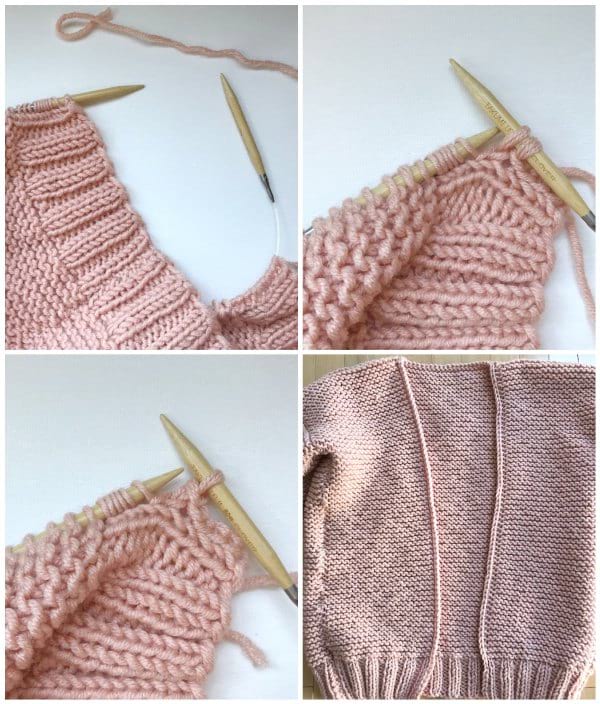
Once you’ve completed knitting all the separate pieces of your cardigan, it’s time to add the finishing touches. The first step involves weaving in all the loose ends of yarn. These ends are the tails left over from casting on, changing colors, or binding off. Leaving them unwoven can create a sloppy appearance and potentially unravel your cardigan over time.
To weave in ends, thread a tapestry needle with the yarn end and use it to weave the end back and forth through several stitches on the wrong side of your knitting. This secures the yarn end and prevents it from coming loose.
The next step, often referred to as blocking, involves washing and gently stretching the knitted fabric to even out stitches and achieve the desired final dimensions for your cardigan. Blocking techniques vary depending on the yarn and fiber content, but generally involve soaking the garment in lukewarm water with a mild blocking solution, followed by pinning it out to dry on a flat surface.